Artifacts
This tutorial describes how to create a new artifact and add information to it. The following elements are involved:
Artifact: A physical object, made by humans – e.g. a coin, a letter, or a tool
Actor: As creator and/or owner of the artifact
Event: Creation of the artifact
File: You can upload an image file connected to the artifact
Reference: Link a reference to the artifact
Add a new artifact
To create an artifact as representation of the object you want to add:
Click on Artifact in the Menu and create a new entry by using the + Artifact button
Choose a descriptive name
Select an appropriate Type from the list
Owned by: If applicable, choose an owner of the artifact, e.g. a museum it is stored at or a person who possesses the artifact
Add further information such as date or description or choose options from type trees
Press Insert to save the entry
Regarding date: the begin date represents the creation of the artifact and can be entered as a time span. Regarding the description field: this can be used to record information that is not covered by the various types. Keep in mind, using types has advantages over free text in the description field (Especially for the presentation of an artifact on the presentation site). If there is no fitting type, please follow this instruction to add new types to the list. Please note, that “owned by” is not used to link a creator of an artifact. You can link a creator by adding a creation event (see below).
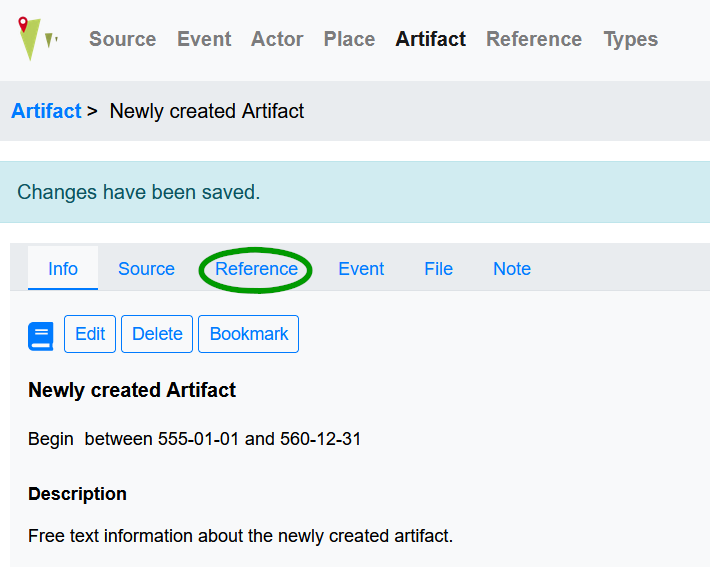
Add a reference to the artifact
To link a reference to a newly created artifact, choose Reference from the tabs
Then choose from the following options:
Link the artifact to an already existing reference by using the Link button
Create a new Reference by using the + Bibliography or + Edition button
Create a new external reference by using the + External reference button
Add a file to the artifact
To add an image file (or any other sort of file, really) to the artifact, choose File from the tabs. Then choose from the following options:
Link the artifact to an already uploaded file
Upload a new file by using the + File button, you can add information and choose a file here
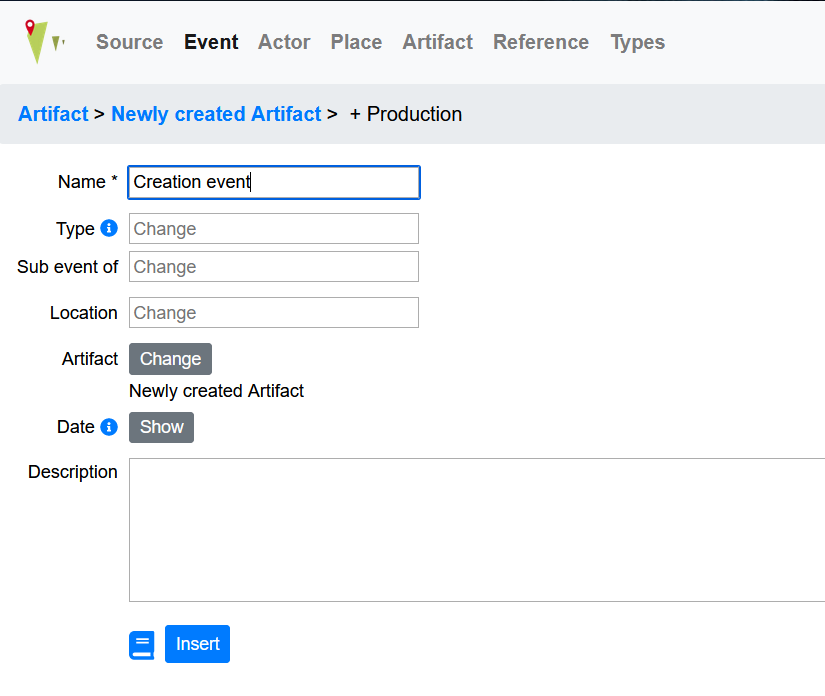
Link a creation event
To do so, click the Event tab. Here click the + Production button.
Choose a descriptive name for the creation event
Select an appropriate Type from the list
Add other information as needed such as a date or add free text in the description field
Press Insert to save the entry
Add a creator to the creation event
If the creator of an artifact is known, you can add the person after saving the creation event by clicking Event in the artifact’s view. On the event’s landing page, click the Actor tab to link a creator (or other kind of actor involved).
Here you can:
Link the creation event to an already existing Actor
Create a new person as actor connected to the Event
Create a new group as actor connected to the event
Please use Link here to be able to choose an actor as creator (or add a new actor, go back to the event page, choose actor - link again and follow the steps below). You can now add the following information:
Type of actor, in this case choose creator
Actor: choose the creator of the artifact from a list of already added actors
Change activity “from participated” in to “performed”
if known, add a date for the creation of an artifact and/or add a description
With the above steps you have created an artifact connected to a creation event and actor as creator.
Add multiple locations to an artifact
First of all, adding an artifact to more than one Place or Feature is not possible. If an artifact has a link to multiple locations, it is possible to keep track of that in the following way:
Choose the Place the artifact has it’s first occurrence at, for example its production site or a place an artifact was found at during archaeological excavation.
link any other place by adding a move event - for example when an artifact is moved from an excavation site to a museum or from a production site to a buyer’s house. Click here to see a short tutorial on adding a Move events
Example: Leonardo painted the Mona Lisa in his workshop in Florence, therefore Florence would be linked to the artifact as place. It was then acquired by King Francis of France and exhibited in Château d’Amboise. This change of location can also be tracked in the database by a Move events. Another Move events maps the transfer of the image to Fountainebleau. By adding further move events the way of the artwork to its present location -the Louvre in Paris - can be documented.
To learn more on how to use a move event, please see the tutorial on Letters).